From brand kit to a scheduled channel: build your first show in ChannelOS
A step-by-step walkthrough: create a brand kit, generate an on-brand show with AI, preview it, then build a channel and put the show on a repeating weekly schedule.
This is the happy path from nothing to a screen that runs itself: brand kit → AI show → preview → channel → repeating schedule. Five steps, in order, the way ChannelOS expects them.
1. Build a brand kit (do this once)
Open Brand kits (/brand) and click New brand kit. You don’t need a website — the dialog says so. You have three ways to feed it:
- A logo or brand image — ChannelOS extracts a color palette from it.
- A brand document — drop a PDF/TXT/MD or paste your guidelines, and it pulls your voice and tone.
- A website — optional, if you have one.
Click Draft & create and AI drafts a full spec you then refine in the editor: five colors (primary, secondary, accent, neutral, background), typography (heading / body / mono fonts), logo & footer marking, imagery settings, tone of voice, and layout defaults.
Two imagery settings matter most for cost and look:
- Media source — Pexels (free) or AI (paid). Pexels pulls free stock; AI generates per-slide imagery with credits.
- Allow video clips — drops a looping Pexels clip on suitable slides.
Set the kit to Active and, if it’s your main brand, Make default. Now every show starts on-brand.
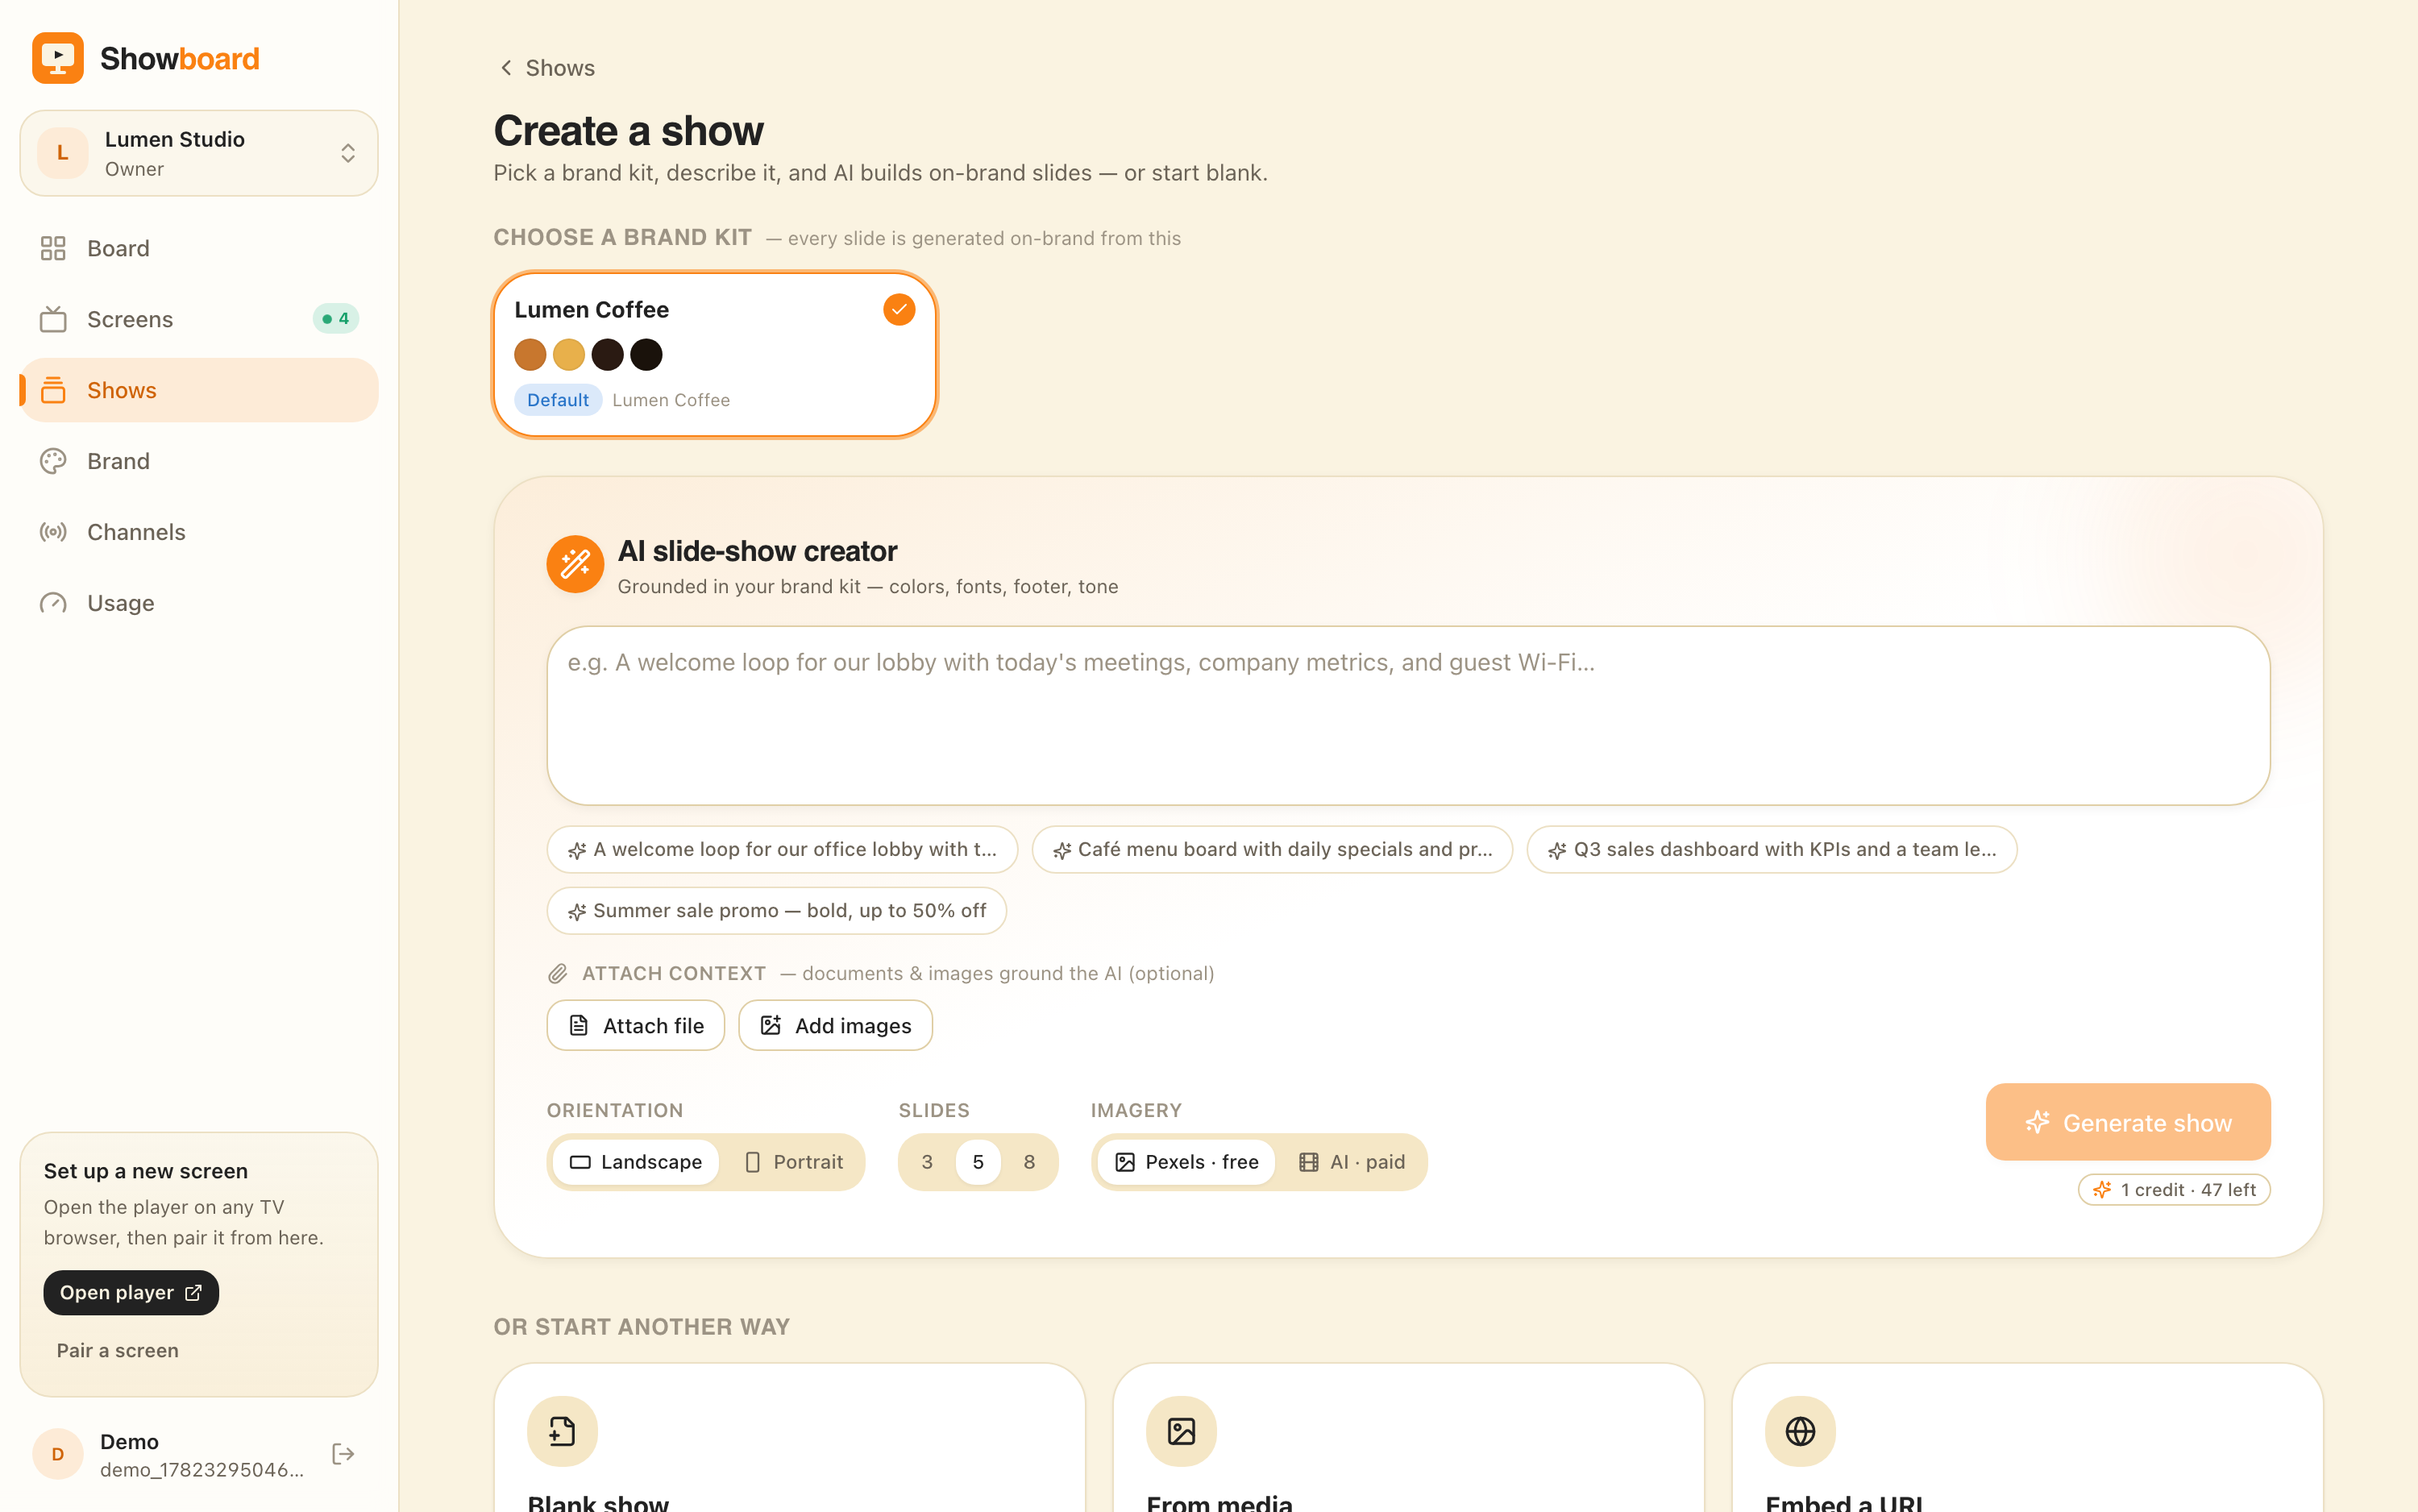
2. Generate a show — kit first, then prompt
Open Shows → New show (/shows/new). The page leads with Choose a brand kit because that’s the grounding for everything that follows. Pick your kit; the card gets a highlighted ring.
Now the AI slide-show creator:
- Type what the screen is for — “A welcome loop for our lobby with today’s meetings and guest Wi-Fi.” Example chips are there if you want a starting point.
- Attach context (optional) — Attach file reads PDFs (text, structure and colours extracted) and Add images lets you mark each one Use it or Inspo.
- Set Orientation (Landscape 16:9 / Portrait 9:16), Slides (3 / 5 / 8), and Imagery (Pexels · free / AI · paid).
Click Generate show. A live panel shows the build pipeline on the left and an AI conversation thread on the right.
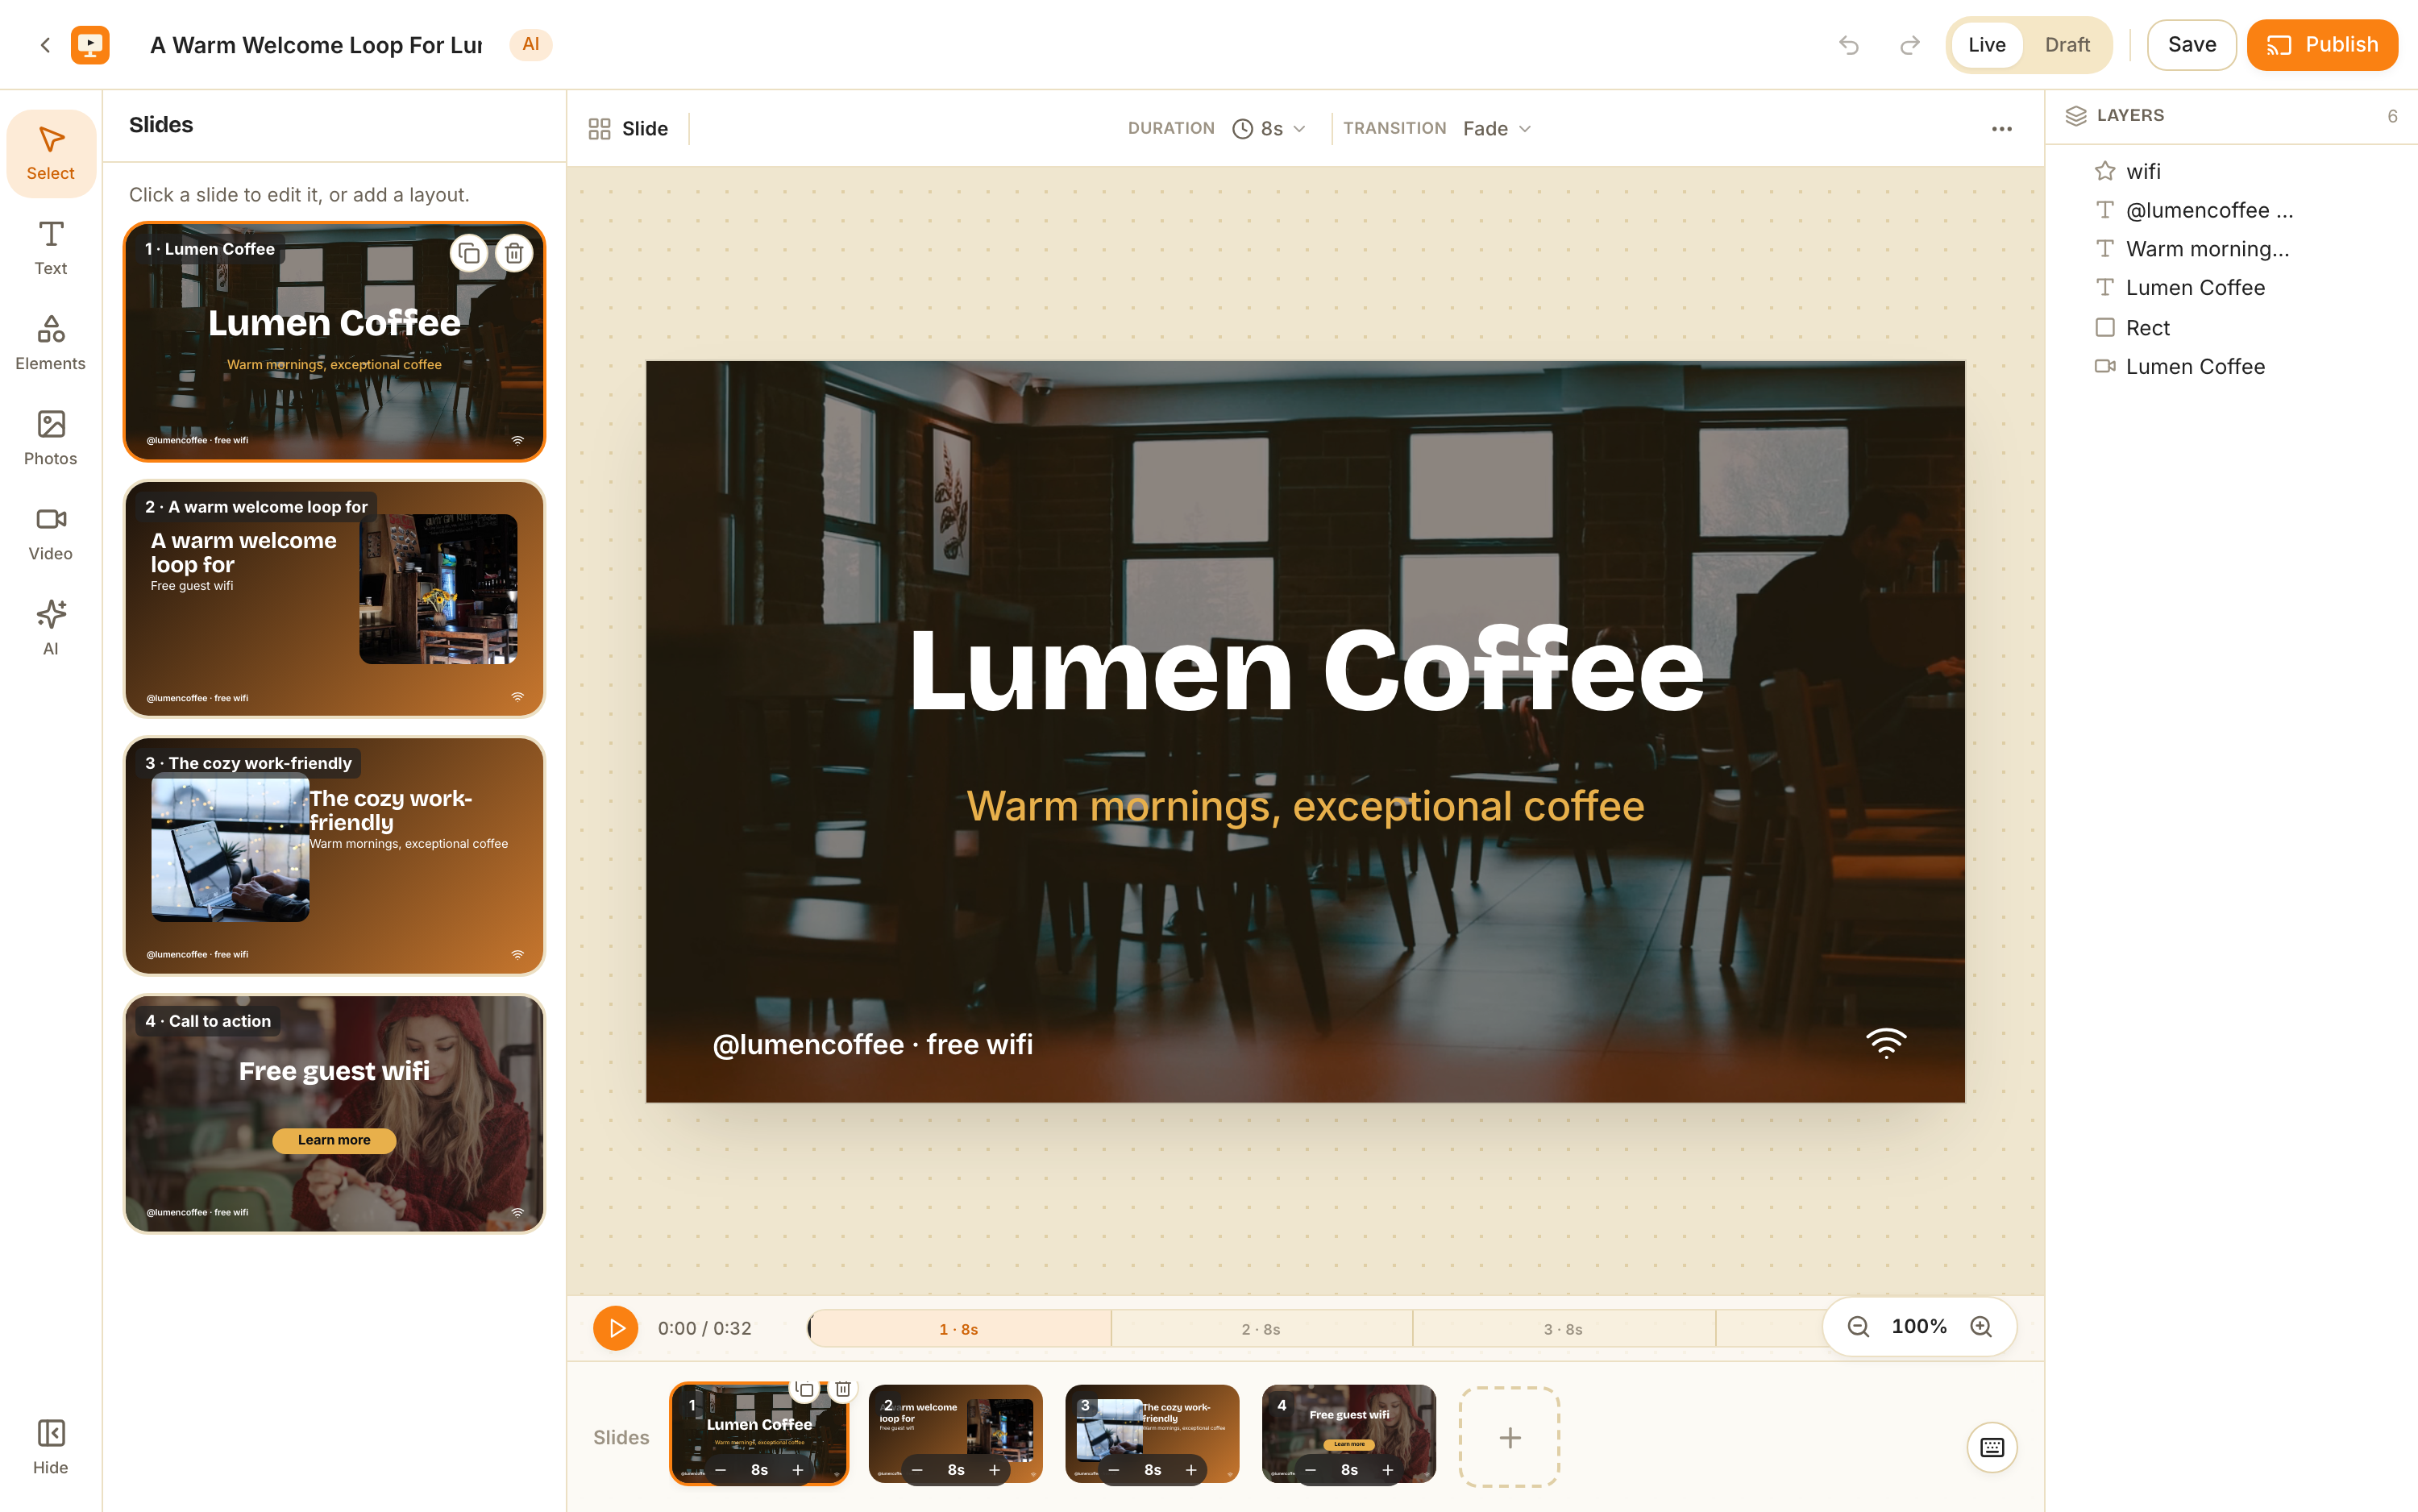
3. Preview in the editor
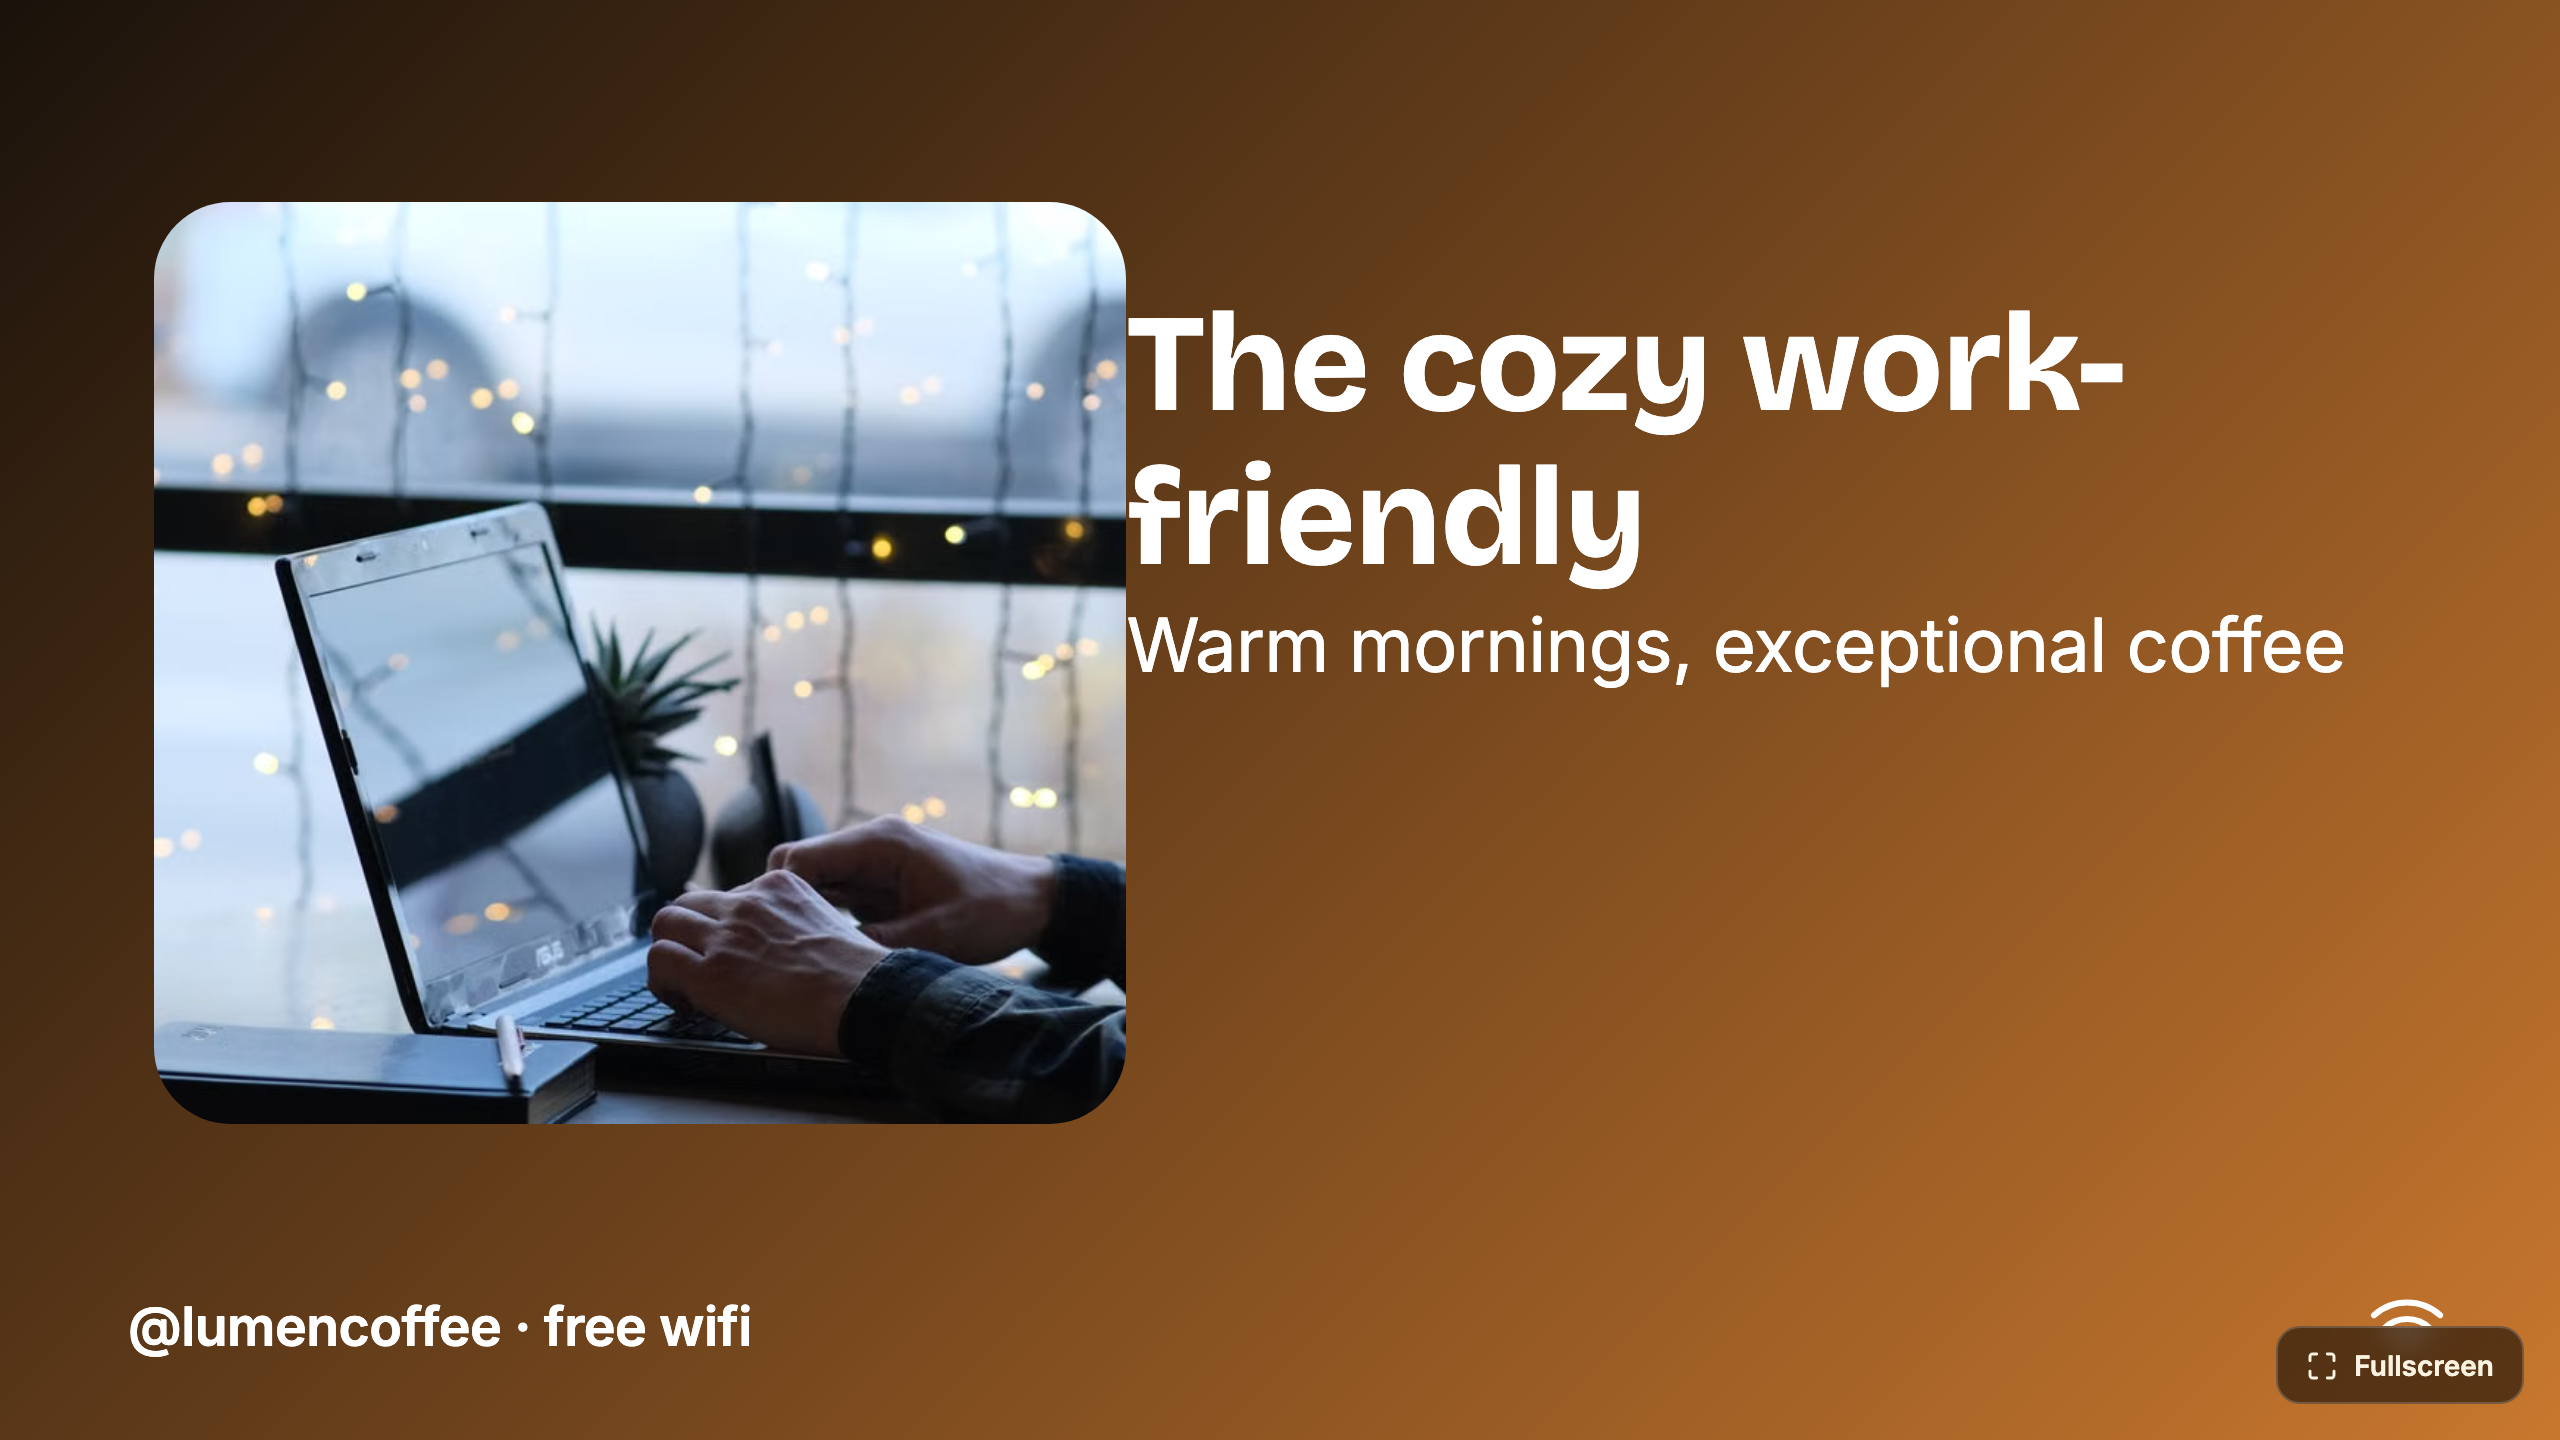
When generation finishes you land in the editor (/shows/{id}/edit) with every slide drawn on-brand. This is your preview — click through the slides, watch the layout, durations and transitions. Everything is editable: nothing here is a flat export. Tweak now or move on; you can always come back, because edits propagate after publishing.
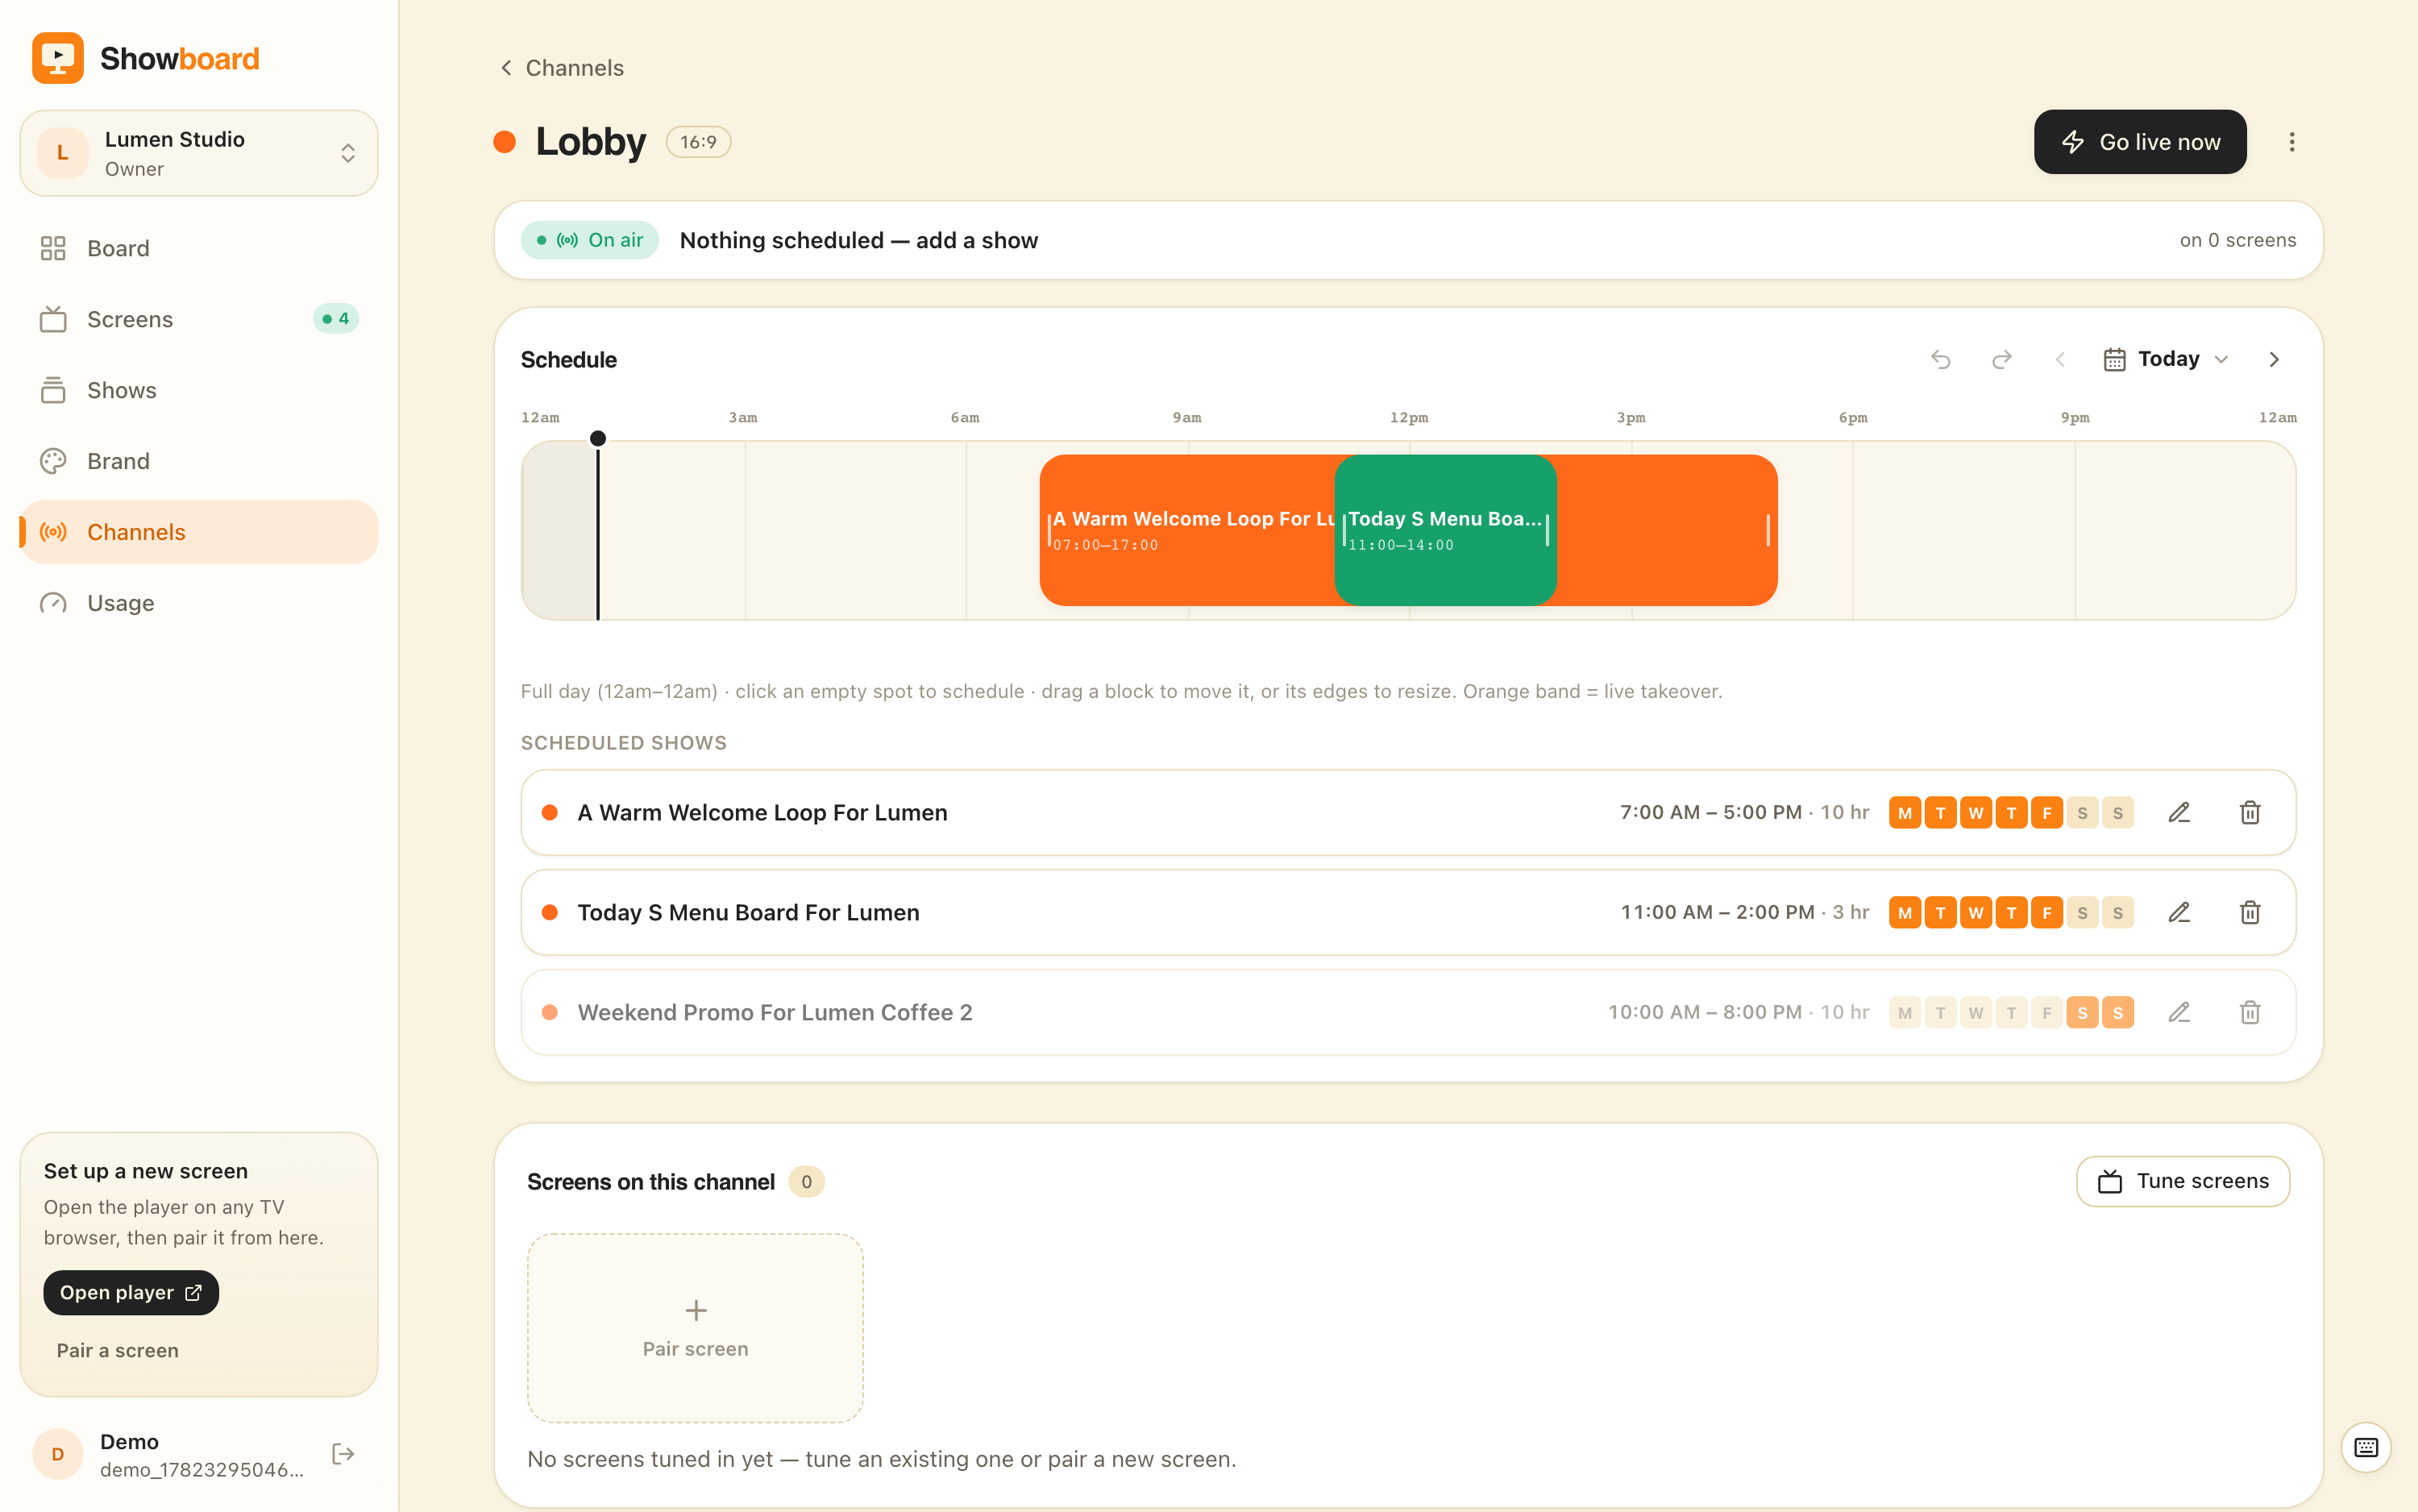
4. Create a channel
A show is the content; a channel is the daily plan a screen tunes into. Open Channels (/channels) → New channel.
Start from a template to skip the blank page:
- Café Day — Breakfast, Lunch and Evening shows across the day, weekdays.
- Retail Floor — Morning / Afternoon / Evening sale, all days.
- Events — a single all-day Welcome.
- Blank — name it, pick Landscape or Portrait, build from scratch.
Click Create channel and you land on the channel’s timeline.
5. Schedule the show to repeat
On the channel page you get a full-day timeline. Click an empty spot (or use the schedule button) to open Schedule a show. Choose Pick existing, select the show you just made, then set the slot:
- Airing — start and end time, with one-tap duration chips.
- Repeat — this is the important one:
- Once — a single date.
- Weekly — pick the weekdays (M T W T F S S). This is how you daypart: a breakfast show Mon–Fri 6–11, a different one 11–4, and so on.
- Date range — runs between two dates.
Add it and you’re done. Drag a block to move it, drag its edges to change duration, and ⌘Z / ⌘⇧Z undo and redo schedule changes.
That’s the loop
Brand kit once → generate on-brand → preview → channel → weekly schedule. The payoff is the part you don’t do again: edit the show later and every screen on that channel updates in real time. Set it once a week; it just runs.
Frequently asked questions
- Do I need a website to make a brand kit?
- No. In the New brand kit dialog you can drop in a logo or brand image for the colors and a brand document (or pasted text) for the voice. AI drafts colors, fonts and tone from those — a URL is optional, not required.
- Why do I pick the brand kit before writing the prompt?
- Every slide is generated on-brand from the kit — its colors, fonts, footer and tone. Choosing the kit first means the AI grounds the whole show in your brand instead of inventing a look you then have to correct.
- What does a repeating schedule look like?
- When you schedule a show on a channel you set a time range (start–end) and a Repeat mode: Once, Weekly (pick the weekdays), or a Date range. Weekly with dayparts is how you set a café or lobby once and let it run every week.
- If I edit the show after scheduling it, do I re-publish?
- No. A screen's content is derived from the show and the channel schedule, not pushed file-by-file. Edit the show and every screen tuned to that channel updates in real time — no re-publish step.
Your screen is two minutes away.
Open the player on a TV, scan the code, publish a show. Your first screen is free.